
Hi friends! This is probably my most requested post and my favorite DIY to date so far. I knew when I got my kids a playhouse, I was definitely going to “remodel” it for them and add some finishing touches to make it unique and their own.
There are so many different styles of playhouses available (even ones that are white and already painted) but at the time I was searching for ours, I didn’t have that option… I found ours from Backyard Discovery which you can purchase at various retailers online… ours specifically is called the “Timberlake Playhouse”. Another great online resource for playhouses would be Kid Kraft.
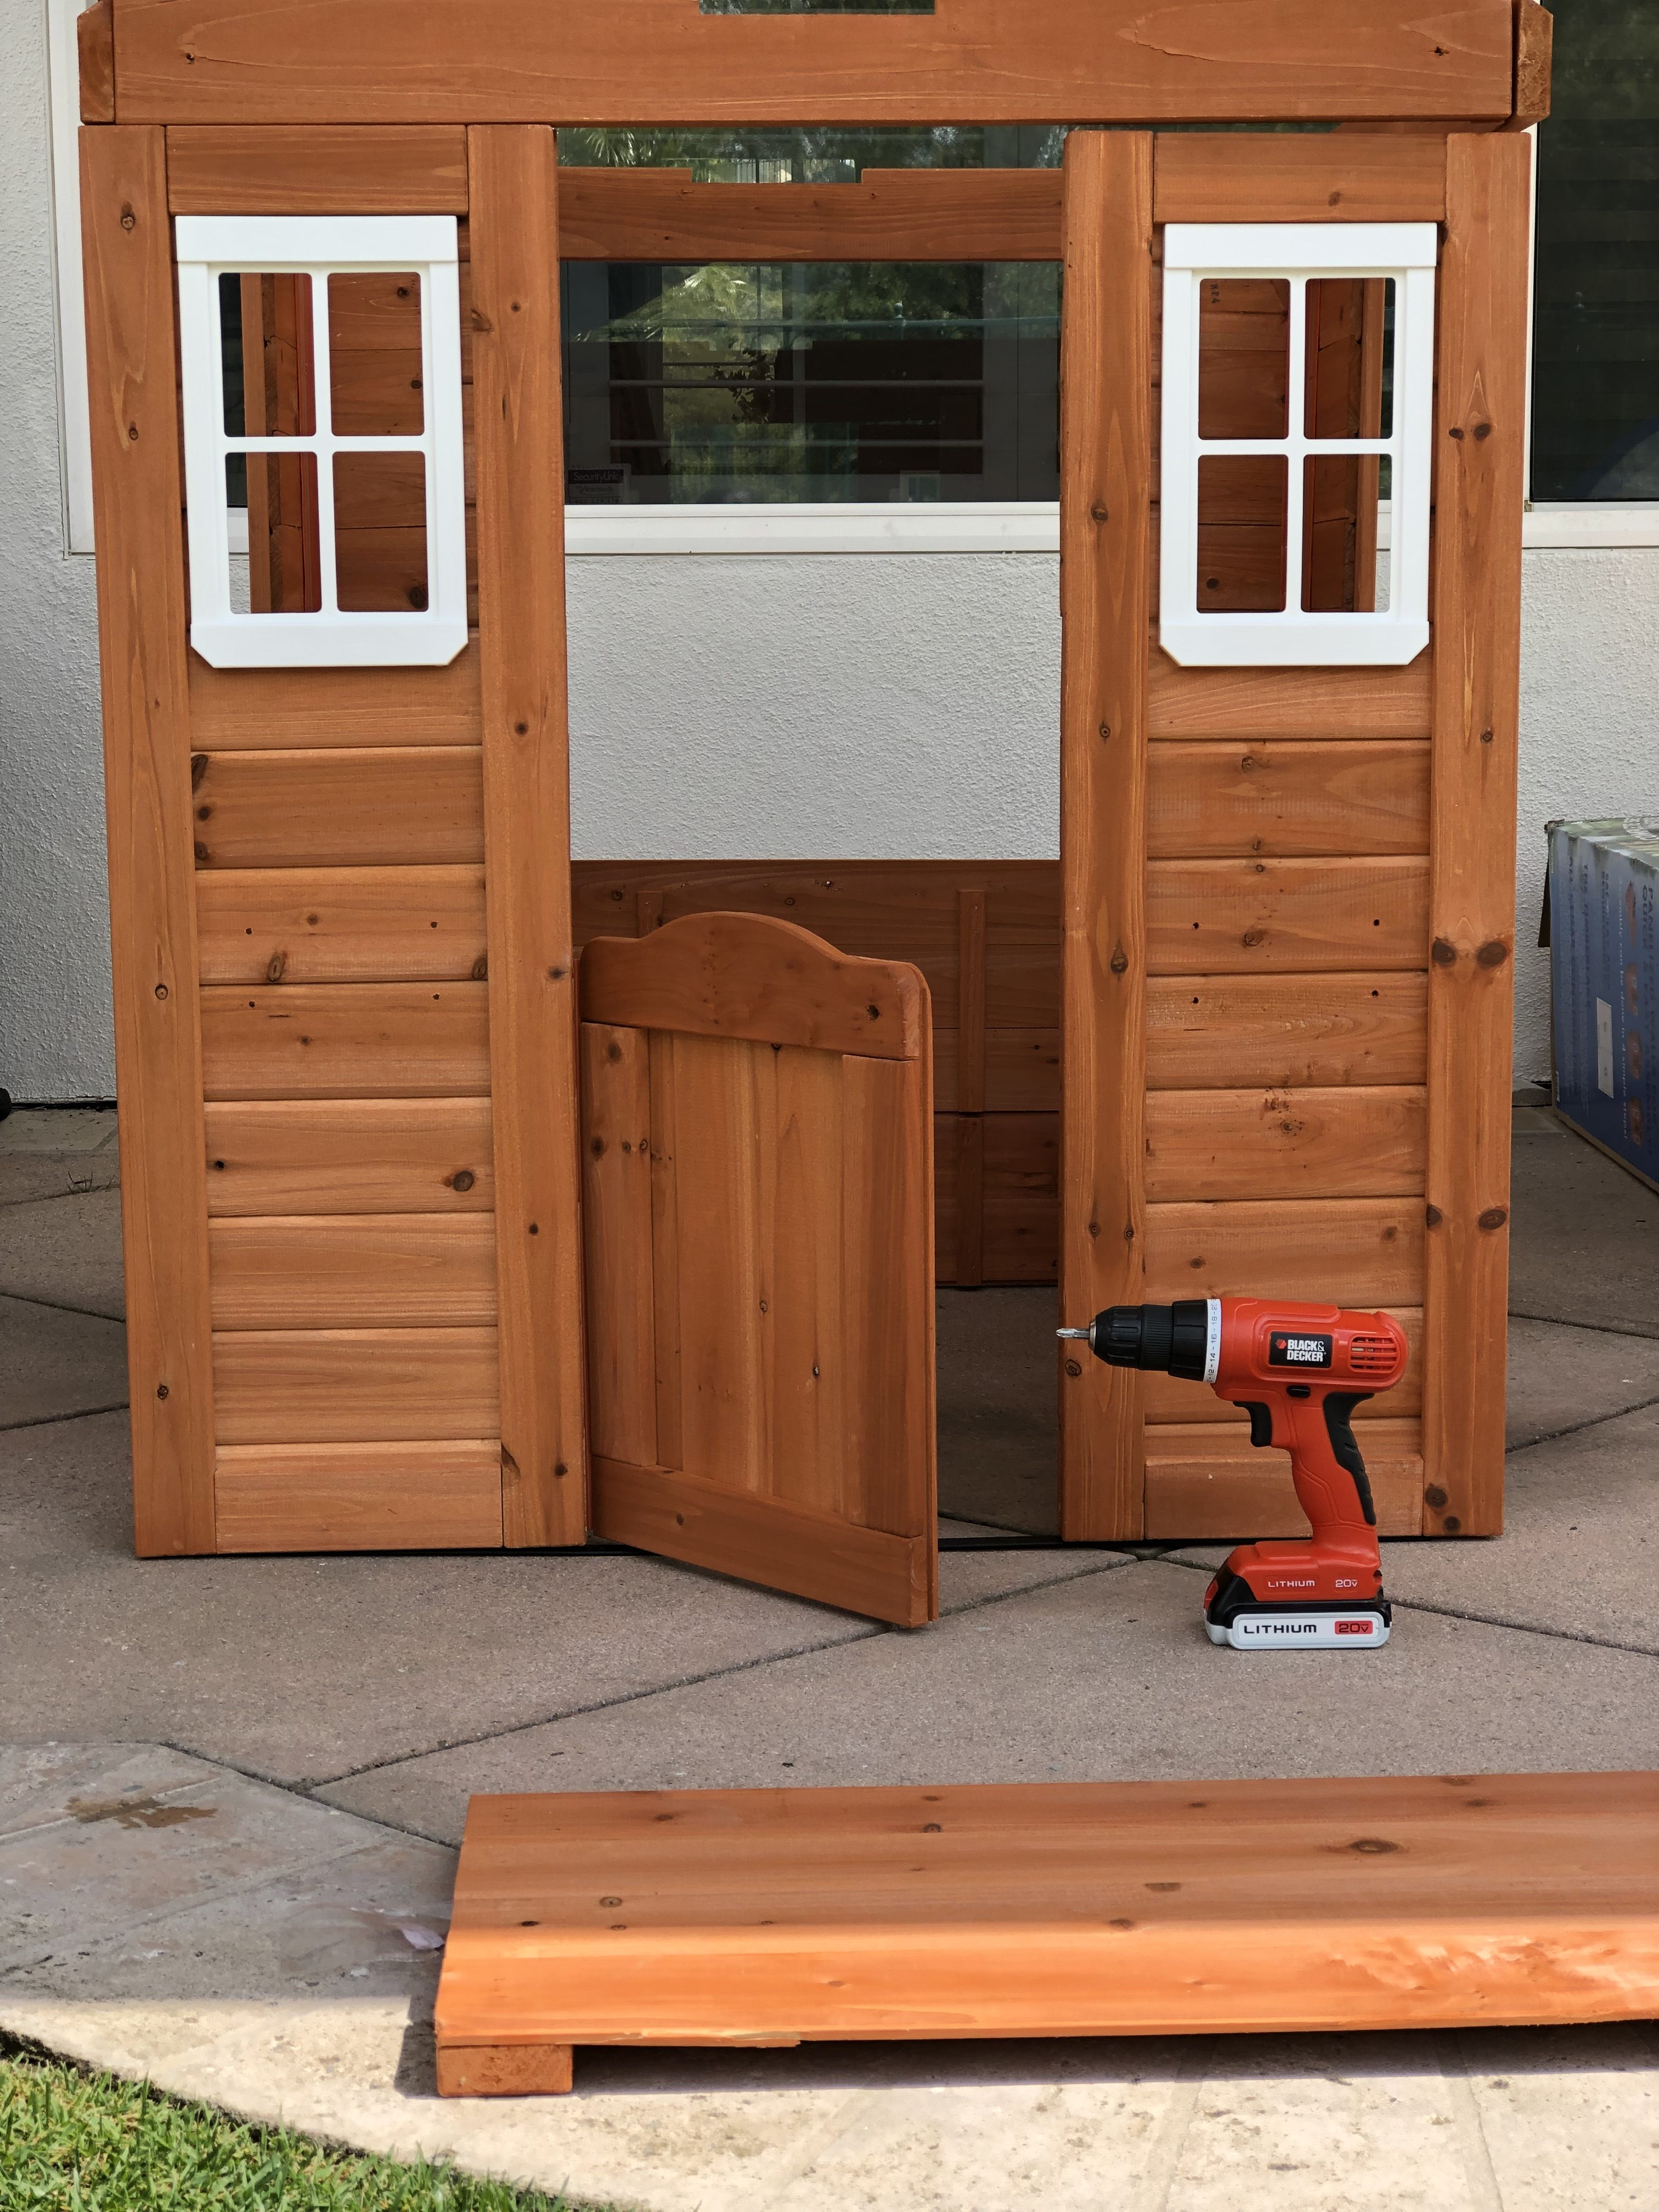
First off, the playhouse comes in a box, so I had to put it together. It took a couple hours to build and you’ll need an electric drill to complete the project.

Once the entire playhouse was built, I wanted to paint it so it matched the same colors as our main house. I had extra paint leftover in the garage and just grabbed those and used it on the playhouse. I bought some different size paint brushes and a roller brush from Lowes and started painting. FYI, I did not prime anything first.


For the tiny windows in front of the house and the small door, I used a small paintbrush and added an accent color to match the same color as the roof. Once everything was painted and dried, I started attaching some mini decor pieces to the exterior and interior. I grabbed the house number 9 sign from Lowes and just drilled it into the front door. The two little window planters were a random find from Big Lots and just so happened to be the perfect size for that window. The green wreath, side lanterns and doormat I found at Target. I used a command hook to attach the wreath- super simple.

Overall, the project was relatively easy to do and it was enjoyable getting to “design” it and decorate it with mini accent pieces. Once it was all finished, I wanted to take it a step further and add some “grass” and a white picket fence to make it look even more real. But other than that, I think it’s such a fun DIY project that you and your kids will love and enjoy for years to come!
Another cute addition is the kids picnic table which ended up fitting perfectly in that space.


SHOP THE PLAYHOUSE HERE:

Enjoy!
0
3 replies on “DIY Playhouse Makeover”
Beautiful playhouse! I am curious, how did you attach the outside shelves? Thanks!
-Kat
Where did you get the mailbox for the play house?
Hi! I got it from Home Depot 🙂